- info@advantagealuminum.ca
- 1-877-440-2323
- Mon- Fri: 8:00AM - 4:00PM

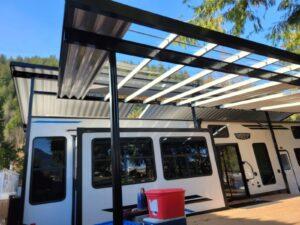
How to Install a Patio Cover: A Step-by-Step Guide from Advantage Aluminum
Adding a patio cover is one of the best ways to expand your outdoor living space, protect your patio furniture, and add value to your home. If you’ve purchased a patio cover from Advantage Aluminum, you’re in luck—our kits are designed for easy installation by DIYers and contractors alike.
Here’s a simple breakdown of how to install your Advantage Aluminum patio cover.
🧰 Tools You’ll Need:
Before you begin, make sure you have the following tools ready:
Drill or screw gun
5/16″ hex head bit
Hacksaw or mitre saw
2″ hole saw
Level
Tape measure
Pencil
Caulking gun
Stepladder
—
📍 Step 1: Choose the Location
Decide where the patio cover will be attached to your building. If there’s a gutter in the way, it may need to be cut and capped. Ensure that remaining downspouts are able to handle drainage.
—
🪵 Step 2: Find the Studs
Attach the rear fascia hanger to solid wood framing—ideally wall studs or roof trusses, spaced about 16″ apart. Mark these positions clearly for secure installation.
—
📏 Step 3: Determine Post Positions and Height
Posts should be spaced no more than 12 feet apart. Their height depends on how high the cover attaches to your home. To allow for water drainage, shorten each post by ½” for every foot of projection from the house.
🔧 Pro tip: Install post shoes to the posts and attach them to the I-beam in the desired locations.
—
🔧 Step 4: Prep the Frame
Mark the gutter and hanger every 24 inches to align roof panels.
Drill a 2” hole in the gutter for the downspout (ideally near a post).
Insert foam plugs and seal the ends with caulking.
—
🧱 Step 5: Build the Frame
On a flat surface like your deck or lawn:
Connect side plates to the rear fascia hanger and front gutter using provided screws.
Add a 1″ corner bracket at the side fascia ends for support.
—
📐 Step 6: Square the Frame
Install the first roof panel snug to the right side of the frame. Adjust the frame until diagonal measurements are equal, ensuring it’s square. Then secure the panel and install the I-beam under it for support.
—
🏗 Step 7: Attach the Frame to the Building
Lift the frame into position:
Apply caulking to the back of the hanger rail before attaching to the wall.
Fasten securely into the wall studs.
Set the posts into place and ensure they’re level before anchoring to the deck or ground.
Double-check that the slope allows water to drain both away from the building and along the front gutter toward the downspout.
—
☀️ Step 8: Install Roof Panels
Working from one side, lock each new panel into the previous one and secure with screws. Be sure to keep them aligned with your 24-inch marks. For extra strength, use gutter clips every 6 feet and seal screws with caulking.
—
💡 Optional: Add a Skylight
If you’ve chosen a skylight panel, install T-bars about 30 inches apart, slide the panel in place, and then peel the backing off the tape. Add a skylight stopper on the gutter side for support.
—
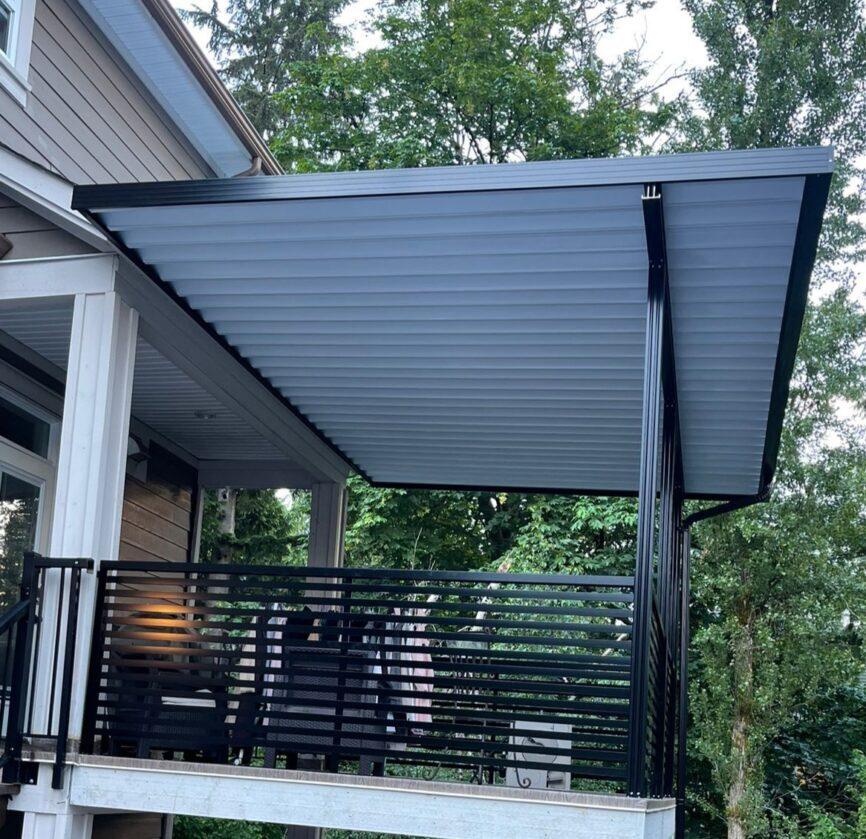
🏕 Free-Standing Installation
Building a freestanding patio cover? Just add another beam and two more posts to support the rear side. Make sure everything is level and firmly anchored.
—
✅ That’s It!
You’ve successfully installed your Advantage Aluminum patio cover. Now it’s time to enjoy your shaded outdoor space—perfect for BBQs, relaxing, or entertaining guests.
—
Need help? Our customer support team is happy to answer any installation questions.